

Steps for deploying vRCU (vRealize Cloud Universal Solution)
- Mohammed Bilal
- Jan 17, 2023
- 3 min read
Recently I got a project where I got an opportunity to deploy the vRCU suite SaaS-based model for a customer and the deployment procedure is a bit different from on-prem.
Documenting the steps here which may help someone on the broader audience who isn't familiar with the procedure, but before that, I would suggest you familiarise yourself with the vRCU solution and the requirement you can refer to the below deployment steps:
Open the VMware customer connect portal and click login and then click on the cloud service console link:

This will navigate you to the cloud console login page where you need to enter your cloud account credential which is associated with the SaaS subscription license:

Post entering your credentials you will be redirected to the cloud services home page, from the top right corner click on these 9 ellipses, which will list the below cloud options:
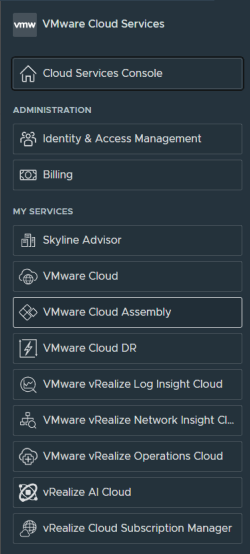
From these cloud services options click on the cloud service which will take you to that cloud service portal.
In my case, I selected Cloud Assembly (vRA Cloud) service from the list, Click on Cloud Proxies under Infrastructure --> Connections

Then click on New to deploy a cloud proxy which will display the below page:

You can either download the OVA or copy the link to deploy the OVA in the vCenter
Copy the One Time Key (OTK) which will be required in the last step of the OVA deployment
Note: It is a requirement to deploy the cloud proxy ova only on a vCenter only and you can't deploy the cloud proxy ova on a standalone ESXi host directly.
The cloud proxy ova deployment is the same as deploying any other ova in vCenter except here in this case we need OTK, in case who are not familiar with deploying the OVA on a vCenter you can refer to the below steps
Login to your vCenter, right-click on the cluster, and select Deploy OVA template

You can either paste the link which you copied in the previous step or you can upload the OVA which you downloaded then Click Next
Select a Name and a Folder then Click Next

Then Select a Compute resource click Next

Review the OVA details and click Next

In the License agreements page Select the I accept check box

Select the storage where you want to deploy the cloud proxy VM, click Next

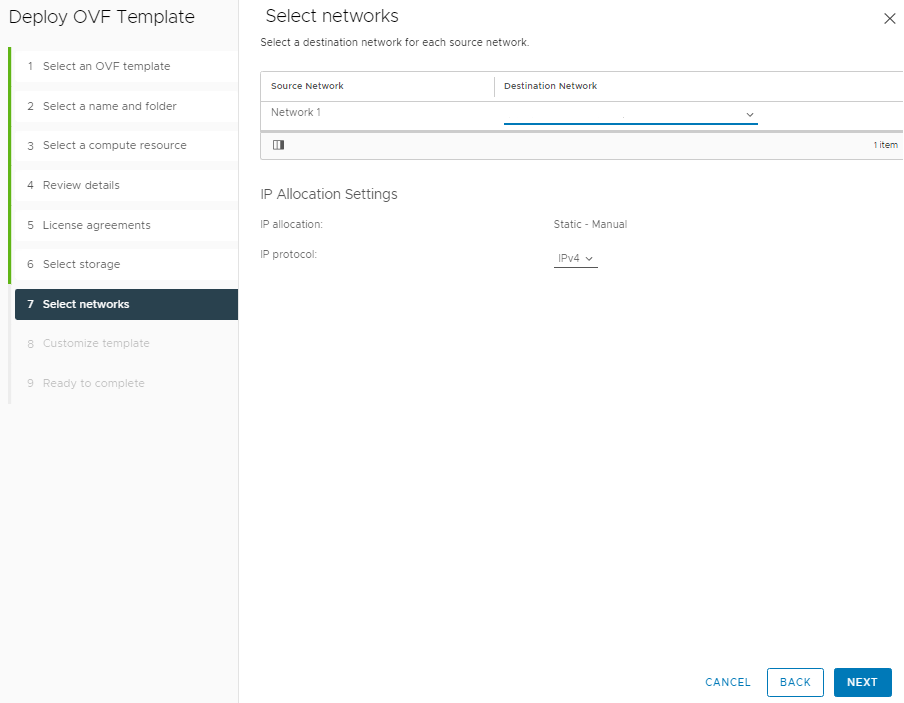
Select the Network which you want to connect to the cloud proxy VM and click Next
In the customize template page paste the OTK that you copied above and fill in the Root password, followed by filling in the network details like below and click Next
Gateway
VM Domain name
Domain search path
DNS
VM Network IP
Netmask


Then in the final step of the OVA deployment page review the information filled and then click on Finish

Once the OVA deployment task completes, power on the VM and for the OS to boot up completely
You will see the cloud proxy VM as Active on the cloud proxy VM page under Infrastructure --> Connections

Click on Cloud Accounts under Infrastructure --> Connections
Select from the page and fill in the vCenter details in the cloud account which you want to integrate with the vRA cloud and select the cloud proxy VM from the drop-down. Once you have filled in all the details click Add go ahead and integrate the vCenter cloud account by

Now your vCenter cloud account has been added
Note: Similarly we need to deploy the cloud proxy for cloud services like vRNIC, vRLIC, and vROPSC the cloud proxy options are different for different products
ความคิดเห็น